Wednesday, August 28, 2013

Some bridal showers.


This weekend I had the privilege of throwing my sister a bridal shower! Ashby is bright, beautiful and a lover of flowers and color, so I thought it would be fitting to smother her celebration in flowers and bright, cheerful shades (gray and white are my usual color palette, so this was good for me).


I love any excuse to craft, decorate and bake, but I knew I would need help executing all my ideas, so I brought in the big guns: my fabulous Aunt Jackie. This woman puts Martha Stewart to shame. She and my cousin Danielle came up for the weekend to lend me a hand. Danielle worked hard running errands with me and steaming table cloths while Aunt Jackie rescued the strawberry macaroons, baked up several batches of her famous chocolate chip cookies and helped me bring all my ideas to life. Not to mention the six or seven loads of dishes she did during her 72 hours stay as well. It was not only incredibly fun to have them around, it was also a life saver! They helped so much, worked so hard and made everything so enjoyable. Thanks again you two! I love you!


Aunt Jackie's cheesecakes stole the show. Bailey's Irish Cream and White Chocolate? It was hard to choose. So I just shamelessly piled a slice of each on my plate and endured the stomachache (worth it!).

Once we were all gathered around to watch Ashby open gifts from her generous friends, I had her share with the group how she met her fiance, Abram, and the story of their engagement. I got so emotional watching her eyes light up as she told the story of their love, the corners of her eyes crinkling from smiling so much. So many times, Ashby has been a guest at a party like that, sitting and listening to someone else's love story. It was so blissful to watch her share her own.


 A couple days later, I got to sit back and be a guest at Ashby's other bridal shower. Two of my mom's best friends (and practically our second mothers), Sally and Robin, hosted a beautiful bridal shower for Ashby in Robin's home. It was such an amazing party. Ashby is very loved! The room was full of women tearfully gushing about their relationship with Ashby and the joy they share with her as she enters into marriage. Even though the living room was overflowing with guests, the party still felt intimate and personal as we shared marriage suggestions and stories about the bride-to-be.


An additional treat to the afternoon was getting to spend time with the couple that introduced Ashby to her fiance! You gotta love a successful set-up story, right? Thanks again, Sharon and Al!


I had so much fun celebrating you, Ash! I can't believe we're both in the same country, let alone the same house. 
Only ten more days until you marry your love! 

Wednesday, August 14, 2013

A note on muffin tops:


I've been baking a lot recently, mostly because I have delicious jam in the fridge and need to come up with things to smother it on. I've been doing a lot of lemon & poppy seed combinations (my fav) and made around four batches of lemon poppy seed muffins last week (I gave at least half of them away) trying to perfect the recipe. It hasn't happened yet, but they were still really, really good. Coconut oil to keep them moist and extra-lemony icing drizzled on top. They were just a mere step away from being cupcakes. Anyway, in the meanwhile, I learned some tricks to get great muffin tops and I thought I'd share them. 

5 tricks to get fluffy, high-domed muffins:

1. Spoon your flour carefully. Baking isn't forgiving at all, so the right amount of flour makes or breaks your recipe. Scooping your measuring cup right into the bag of flour might pack too much in and you'll get dense, flat muffins. Instead, use a spoon and scoop the flour into your measuring cup and then level with a butter knife (unless the recipe calls for one "mounted" scoop). I learned this tip from my favorite baking blog.


2. Sift your dry ingredients. This helps the muffins get nice and fluffy once they're baking. I sift the flour into a mixing bowl and then sift all the dry ingredients together once more (twice, if I'm using gluten-free ingredients). I use a sieve, but a traditional sifter would probably work even better.


3. Fill your baking cups completely full. Up to the rim. 

4. If the recipe calls for buttermilk, use buttermilk. If it doesn't call for buttermilk, improvise. For example, in one of my batches of lemon muffins, it didn't call for buttermilk, but I used the lemon juice that it did call for to sour the milk before I added it and ended up with really fluffy muffins. I shared a tip for buttermilk replacements in my pancake recipe. Something about the bubbles or something-something sciency. Whatever it is, it's great. Buttermilk is your friend in the baking world! Try not to use plain milk if you can help it.

5. Preheat the oven 100 degrees higher than your baking time. As soon as you put the muffin tins in, turn the heat down to what the recipe calls for. The blast of heat in the beginning is really what gives the muffin a high, fluffy top and is the most important tip.  


I was pretty excited when I combined all those tricks and finally got fluffy muffins with a top that could pop right off. It's so obviously the best part of the muffin. Seinfeld, anyone? 
 

Tuesday, August 13, 2013

Bits & Pieces of August

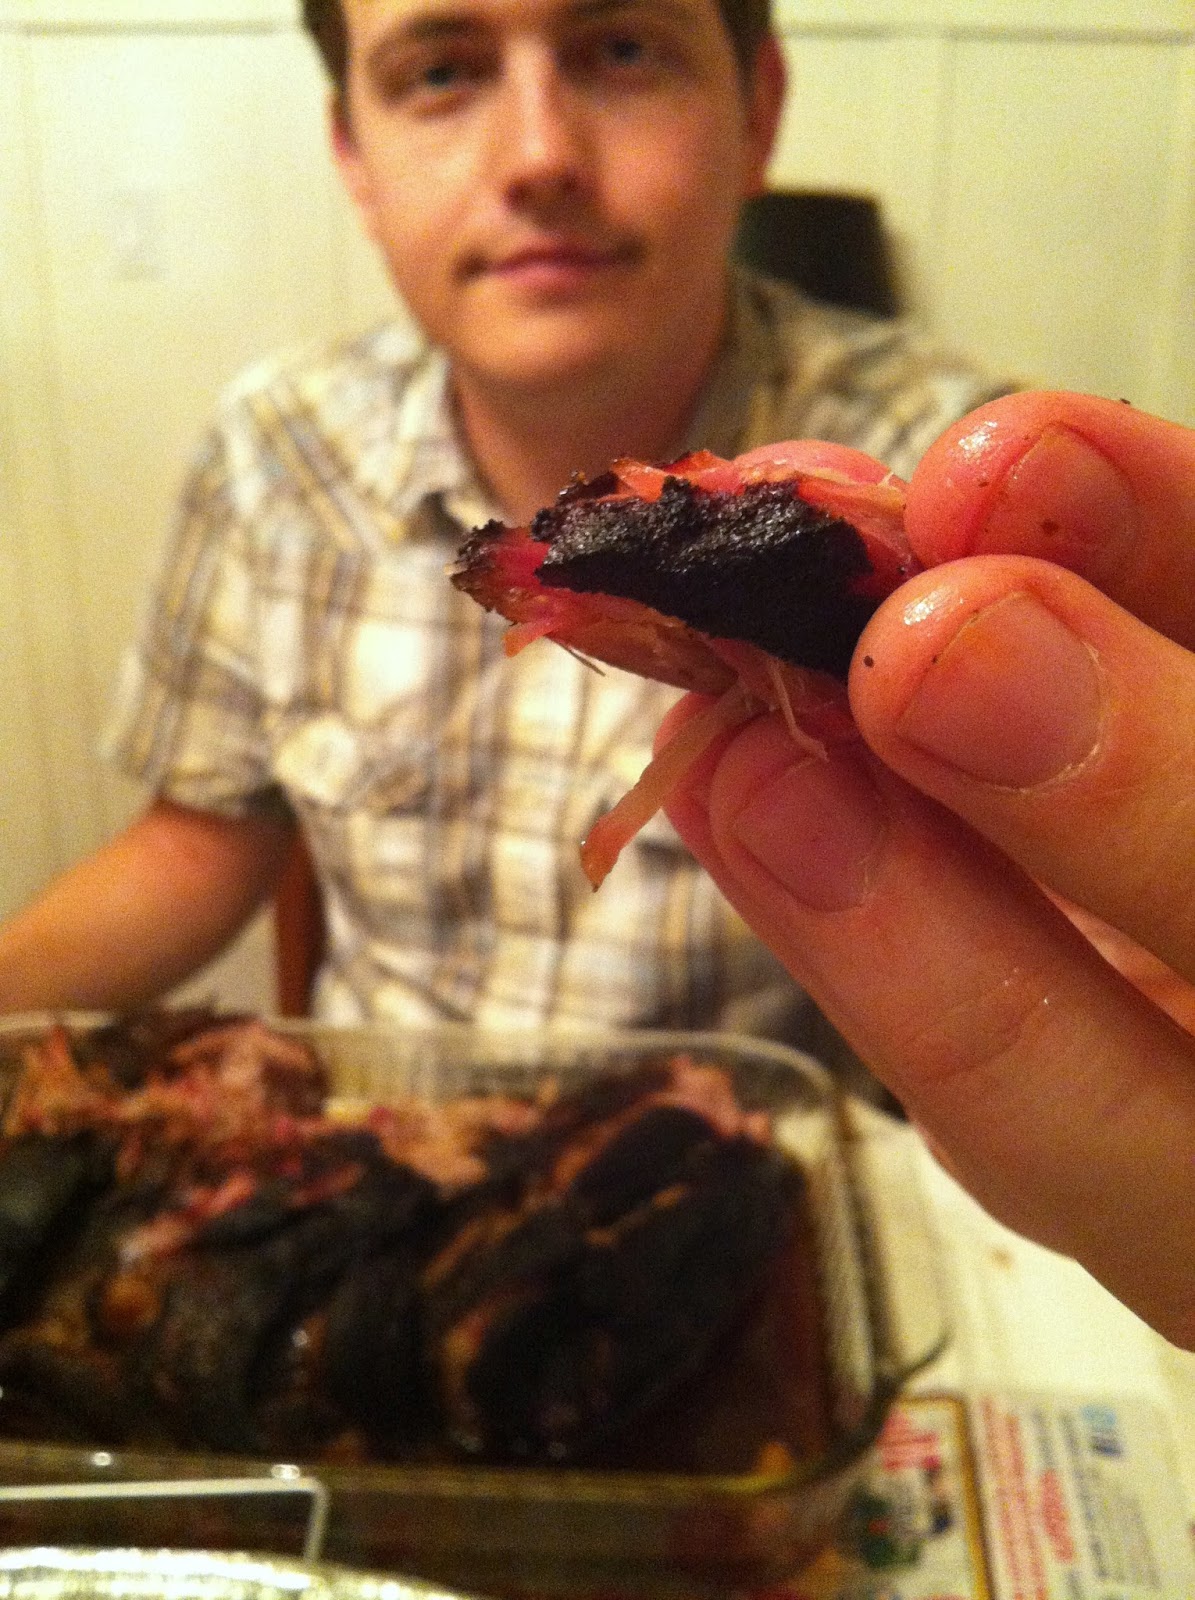
August has been going by pretty slow, which has been nice as we transition back to our lives in California after our time in the south. This last weekend, we celebrated alongside our friend Josh as he got married! A while ago, Josh had asked Matt to cook up something southernly-delicious for his rehearsal dinner. He chose his highly-coveted pulled-pork sandwiches, his grandmother's macaroni and cheese recipe and good ole' baked beans. Pork has only been in my life for about a year, but if it means anything, he makes the best pulled-pork sandwiches I've ever had. And I've been bouncing around multiple states in the south, people. He's absolutely perfected his recipe, making the rub and the barbecue sauce from scratch, so this was by far the best batch of pork he's ever barbecued. I always forget how much I love Matt's cooking until I have it.


Things were a little crazy around here last week, but when we were all sitting around outside under strung bulb lights drinking basil strawberry lemonade and feasting on a plate of southern cooking, it was all worth it. I love hearing people rave about Matt's food. Of course I think it's good, but hearing person after person tell him it's the best pulled-pork sandwich they've ever had, it makes smelling like barbecue sauce for a week all seem worth it.


Their wedding on Saturday was absolutely beautiful. The ceremony and reception were held in someone's incredible backyard, facing the hills on the most perfectly clear and warm day. Because our husbands were both groomsmen, Bean and I got to enjoy our usual routine of being each others dates and keeping each other company on the dance floor. It was a really fun night of catching up with friends and celebrating the Lewis'. We are so excited for Josh and can't wait to get to know Courtney!

Speaking of weddings, I get to go home tomorrow and spend three weeks in beautiful, summery Oregon helping my sister with her wedding! This trip is such a gift and part of the many, uncountable blessings-in-disguise we experienced when we went to the south this summer. Before we went to Alabama, I had arranged to get three days off for Ashby's wedding. Now, because of how everything ironed out with my boss, I get three weeks off to go home and start work again the day I get back. I would've missed out on so much only being there for three days. First of all, I haven't even seen my sister in a year! Secondly, I haven't met her Canadian love of her life yet and thirdly, I love Oregon and it's filled with all sorts of friends and family I need to see. Including several pregnant friends with bellies to rub and talk to. (Am I allowed to do that if I ask first?)


I've been keeping myself busy with her bridal shower, another huge thing I would've missed, and having way too much fun on Pinterest. (Thank God there wasn't Pinterest around when I got married, I was already a pretty indecisive bride..) But mostly I'm just really, really excited to see her get married. I will feel much better sending her back to Kenya as a married and well-loved woman! 

See you tomorrow, beautiful Northwest. 

Tuesday, August 6, 2013

Strawberry Lavender Jam

I'm pretty into jam. Mostly, raspberry jam. It's what I grew up eating on peanut butter sandwiches (or straight out of the jar, occasionally) and it goes great on the scones my family eats on special occasions.  When we visited Serenbe this summer, they served strawberry lavender jam with their buttermilk biscuits and, call me fickle, I forgot all about raspberries. It was just the right amount of tartness and sweetness with a delicious, hard-to-explain aftertaste of lavender. I really like the smell of lavender, but it usually weirds me out when people consume it. But one bite of those biscuits, all covered in shiny, red sugar and I was back on the wagon. The sugar wagon, that is. Sugar and I have been on-again-off-again for a while, but as far as this jam is concerned, we are back on.


We picked up a couple jars of preserves at Serenbe to hand out as gifts, but forgot to keep a jar for ourselves. I picked up this guide at a used bookstore in Tennessee and after flipping through it for a while, it inspired me to do one of my all-time favorite summer activities: jam making. So, this recipe is mostly inspired from the jam at The Farmhouse restaurant in Serenbe, GA, with a few step-by-steps borrowed from Ball Blue Book.


Since I've never cooked with lavender before, I was kind of just making it up as I went along, but it turned out great. It's a subtle flavor that pairs really well without over-powering anything. I wasn't sure if I should just sprinkle it in there or reduce it into a syrup or what, but I decided on tying up a few spoonfuls in what I think was cheesecloth (who knows) and making a little satchel out of it. It did great, just kind of bobbing around in the strawberries, and filled the kitchen with a really sweet, calming aroma. I'd highly recommend putting on some Sinatra and spinning around in your apron a bit. 


You will need:
2 pounds of strawberries (buy local or pick them yourself!)
3 tablespoons dried lavender
2 cups white sugar
Juice of one medium-sized lemon

Recipe prep:
1.Wash, hull and cube the strawberries. Put them in a gallon sized zip lock bag and crush them a bit (unless you prefer more of a marmalade-style jam).
2. Put a few spoons in the freezer. (You'll use them later to check the thickness of the jam.)
3. This recipe makes around 3 quarts of jam. Prep three quart-sized jars by washing and drying them and filling them with hot water so you don't crack the glass when you pour in hot jam.
4. Tie up the lavender in a square of cheese cloth, tie off with dye-free string.

Next:
1. Put the strawberries in a large sauce pan and add the sugar, lavender satchel and lemon juice.
2. Bring to a boil slowly over medium heat, stirring occasionally.
3. Increase to a rapid boil and cook for around 25-30 minutes until thick, stirring occasionally to avoid burning.
4. To check thickness, dip a frozen spoon into the jam and quickly lift it out. If the jam slowly drips down from both sides of the spoon and comes together to form one, thick droplet, it's ready.
5. Remove jam from heat and discard the lavender satchel. Pour the hot water out of the jars and using a funnel, ladle in the jam. Leave a bit of room on the top and put the lid on immediately. Once all the jars are filled with lids on, flip them over and set them upside down for a few seconds before putting them right side up again. Within about a half hour or so, you'll hear the lids start popping as they seal. If they don't pop, push down on the center of the lid. If they don't seal, stick them in the fridge and enjoy them soon, or use them for a delicious dessert recipe, like this one.

(Note: A lot of people choose hot water baths to seal jar lids, but quickly turning them upside down has always worked for me. Some people leave them upside down until completely cooled, but I've never tried it longer than a few seconds and it always works for me. Good luck!)


We tried out the jam on a sunny, Saturday morning over lemon poppy-seed scones and coffee. It turned out incredible and took me right back to Serenbe.


Wednesday, July 31, 2013

A rambly salsa recipe.

This past weekend our town was holding it's annual Salsa Festival, which happens to be held a few blocks down from our house. After a lazy Saturday morning, we walked down in hopes of enjoying lots of tasty, free, salsa samples. The closer we got, the more over-whelming the crowd became, so we ditched at the last minute. We walked around the festival to a hole-in-the-wall restaurant that sells delicious, authentic $1 tacos. Every word on the menu is in Spanish and our ordering process involves the cook holding up various meats and ingredients for us to point to. It's delicious, cheap and a good reminder that we need to learn some Spanish.

On every table, they have drizzly, not-too-hot, flavorful salsa. The kind you can splash on an omelet or taco, or shovel into your mouth with a tortilla chip. (Or, pour over Greek yogurt and eat with your husbands new rice & quinoa crackers from Cosco that are incredible and gluten-free.) It was so good; it inspired me.

Since we didn't get our fill on salsa at the festival and we have tons of tomatoes laying around, I decided to try a new recipe. My housemate Cynthia recently picked up a Mexican cookbook at a local grocery store. It's a collection of family favorites from people that live nearby, in this primarily-Hispanic town of ours. There were a few pages dedicated to salsa recipes, but I picked the first one I saw: table salsa. Not only did the title have me imagining classic restaurant salsa, it also didn't call for any cilantro (Matt's archenemy in the kitchen).


Table Salsa: Original Recipe

4 whole tomatoes, chopped    1/2 clove garlic
1 jalenpeno chile, chopped      1/4 tsp. pepper
1/2 small onion, chopped         1/2 tsp. salt
1 (6oz) can tomato paste         1/4 tsp. paprika    
1 minced chilitepin                   1 tbsp. vinegar

Mix all ingredients, adding seasonings last, in a blender or food processor. Mix for desired thickness. Salsa will keep for a week refrigerated in a closed container.

The original recipe is really good. Obviously the quality of your salsa all comes down to the quality of your tomatoes. Ours were a bit too ripe and needed some boost in flavor, so I made some changes to the recipe. Like I said, it's a great recipe, most of my changes are just preferences (I never turn down an opportunity to add lime and can never get enough garlic).

The tomatoes I was using were garden fresh and the skins were a bit haggard, so I ended up peeling the skins off with heat before chopping them. I don't know what a chilitepin is or where to get one, so I omitted that. I also added twice as much garlic and cut the amount of paprika in half, adding only a pinch. I squeezed in half a lime and added a splash of balsamic vinegar to increase depth of flavor. And, like a true American, I added a teaspoon of white sugar. I also added in more chopped onion for a bit of crunch. So, here is my altered recipe: 

4 whole tomatoes, chopped and peeled       1 large clove garlic 
1 jalenpeno chile, chopped                                   1 small pinch paprika
1/2 cup chopped white onion                             1 tbsp. white vinegar             
1 (6oz) can tomato paste                                     1 tsp. balsamic vinegar
1 tsp. white sugar (optional and probably unnecessary)
juice from 1/2 of a lime
salt & pepper to taste
 
1. Combine tomatoes, jalenpeno, tomato paste, lime juice and half the amount of onions into a blender or food processor. Pulse a few times. 
2. Add in the remaining ingredients and blend for desired thickness. 
3. Stir in the rest of the onion.
4. Chill for at least an hour before serving to allow the flavors to set.               

Monday, July 29, 2013

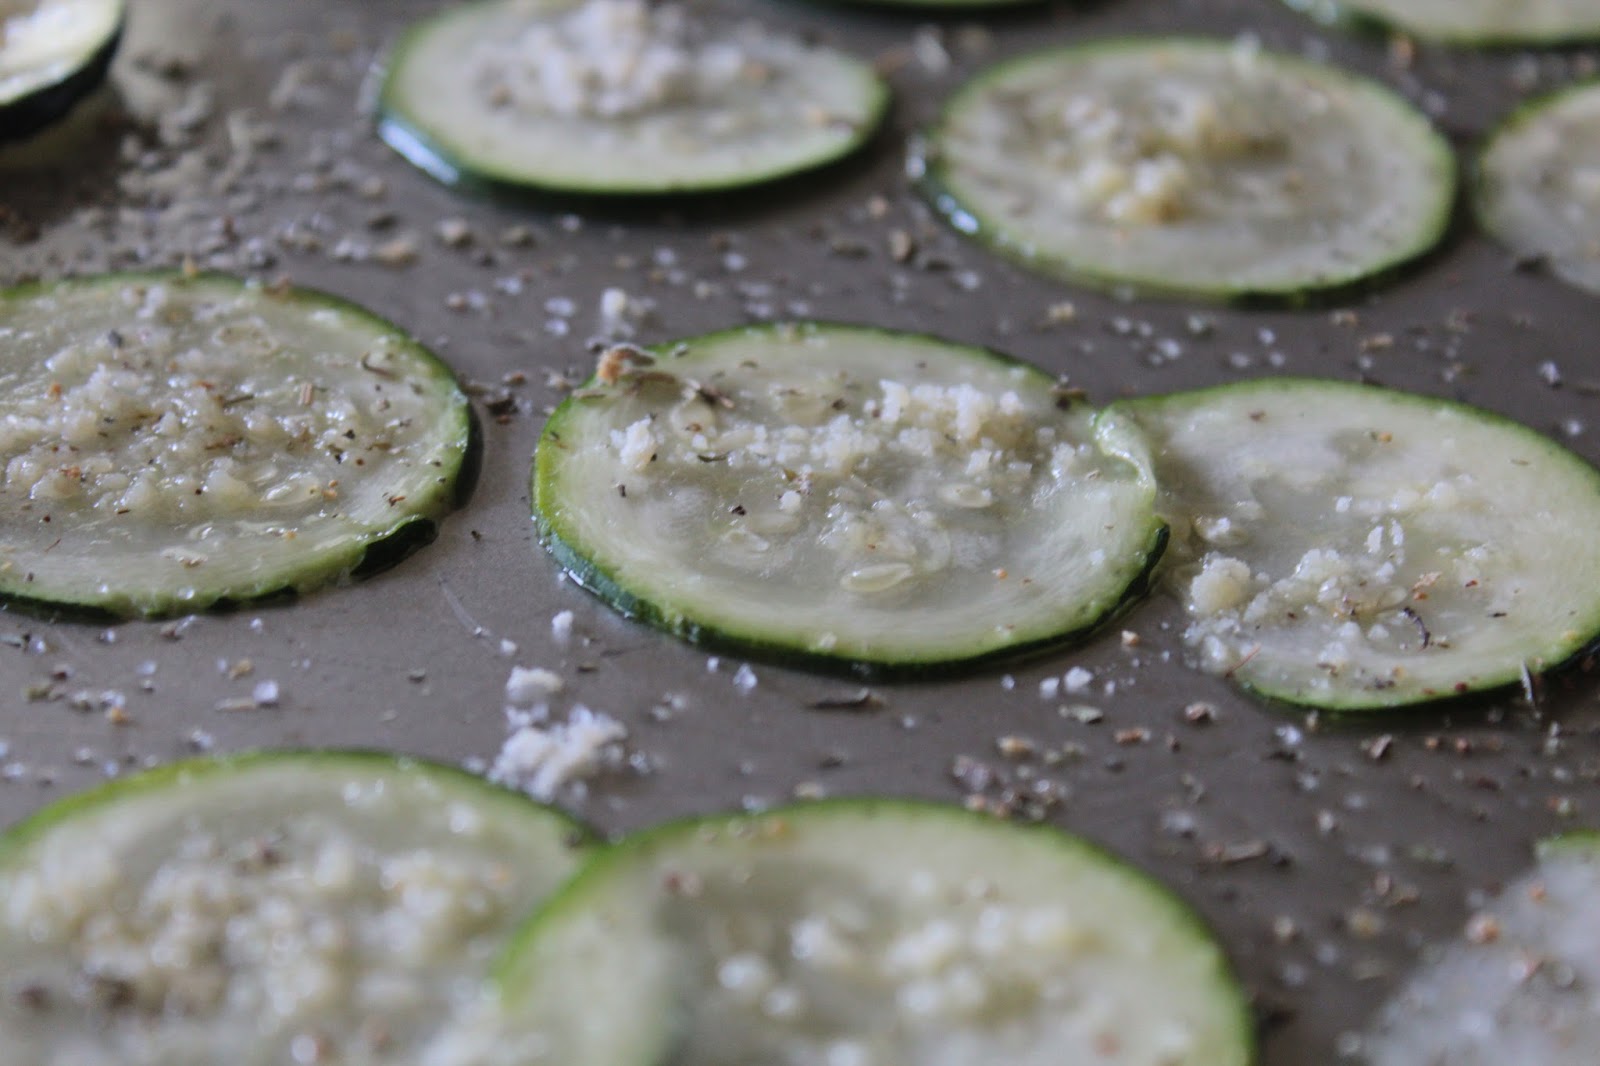
Italian Herb & Cheese Zucchini Chips

I've been seeing recipes on Pinterest for baked zucchini chips the past few days, so when a friend dropped off a few fresh veggies from their garden, I thought I'd give them a try. I decided to spice them up a bit because if I'm going to be reaching past my Kettle Chips for these, they better be pretty good, right? So this is an altered version of this recipe.


1. Heat up 1 tablespoon of olive oil in a skillet with one roughly chopped clove of garlic. Heat until garlic is fragrant and sizzling. Discard the pieces of garlic and remove skillet from heat, allowing oil to cool.

2. Chop the zucchini into thin slices (I used a mandolin which only took a few moments and created even slices). Press the slices between dry paper towels to draw out liquid and shorten baking time. Lay out slices on a baking sheet.

3. Brush the top of the slices (just one side) lightly with the garlic infused olive oil. Sprinkle them with a pinch of salt (they shrink when they cook so go easy or they'll be too salty), Italian herb seasoning and grated Parmesan cheese.

4. Place them in an oven and bake them for around 2 hours at 225 degrees or until lightly brown and crispy.


Friday, July 26, 2013

Back home.

Since we've been back from the south, we've been staying with these fine people:


Alan & Cynthia have been like family to us the past year or so. (You might remember them from our Christmas.) We came into their lives right as their kids (and grandkids) were moving out of the house and across the country. Matt and I are living away from our families too, so we all shrugged and started spending holidays together. Even though we all met in California, they are actually from Portland and I went to high school with their daughter! It's all very endearing.


When Cynthia's not running her household, she can be found in the backyard throwing clay in her studio and listening to Beyonce. (And I can be found watching her with glee and wonder as she turns dirt into beautiful bowls!) 


Since I haven't started work yet, I've been following her around, learning her homemade granola recipe and overall enjoying her company. We pour glasses of wine and make dinner together every night, listening to music and laughing over old (or not-so-old) stories of recipes gone wrong. For someone who really misses living near her mom and someone who really misses her daughter, we are pretty good company for each other.

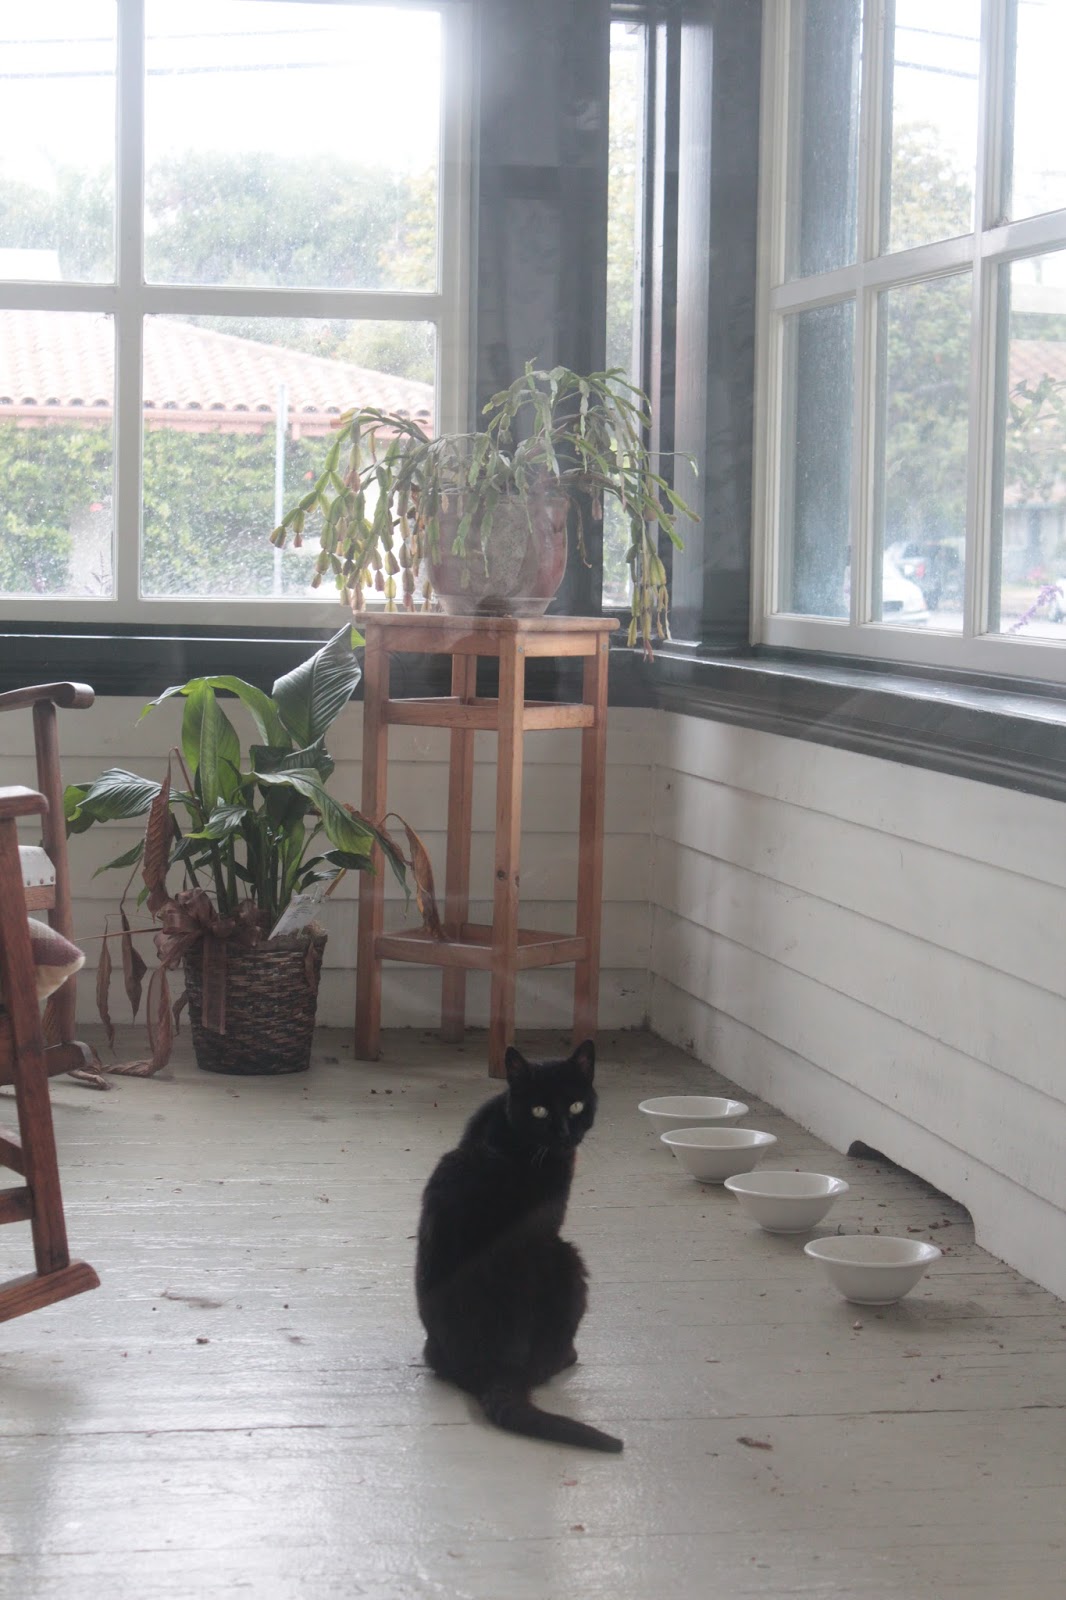
Their house is over a hundred years old, big and beautiful. The back door slams loudly when you walk through it, the bathrooms have claw foot tubs, the stairs creak and the rooms have beautifully restored chandeliers. I start my day off in the sunroom with Cynthia, drinking coffee and watching the neighborhood come alive.


 Although the house is wonderful, it's not as wonderful as the Clother's hospitality. They are so gifted at hosting and are such generous people. Their front porch is home to a few straggly, stray cats and a haggard raccoon. There's always extra food at dinner and a constant, unspoken open-invitation for guests.  We don't feel like we're renting a room from them. It's more like we're joining their family and living life alongside them. It is such a gift to be able to live here!


Our friend Sascha has been living with them for the past year and stays in the room down the hall from us. After staying in a house with seven people, it is actually a great transition to come back to a full house. Matt and I have always talked about living with other people and these happen to be a few of our favorites! I'm pretty out-numbered by introverts around here, but it's nice to at least have people around. Extra people to play cards with. Someone to keep Matt company when I fall asleep during a movie. It's great.


 We don't know how long we'll be living here, or even how long we'll be in California (more on that later), but for now it is the biggest gift ever. Financially, emotionally and spiritually. We love you Clothers!